openFPGALoader Programmer
Introduction
The built in programmer in Lattice Radiant can have issues communiciating with the FPGA over FTDI. This document explains how to install an alternative, more reliable programmer.
When you synthesize your code in Lattice Radiant, it creates a .bin file contaning the design to be uploaded to the FPGA. This file exists at
<project_name>/impl_1/<project_name>_impl_1.binIf your project is called lab_2 the file would be
lab_2/impl_1/lab_2_impl_1.binYou will need the location of the bin file to upload code once you are done with the installation process.
After installing openFPGALoader
To upload a synthesized design to the FPGA
openFPGALoader -b ice40_generic -c ft232 -f <path_to_.bin_file>If you are in a Lattice Radiant project folder and you don’t have the exact path to the .bin file, this command will find and upload the first .bin file it finds
find . -name '*.bin' -print | xargs openFPGALoader -b ice40_generic -c ft232 -fIf you are having trouble figuring out which path to use, ask a in office hours or on Discord.
MacOS install
First install Homebrew if you don’t already have it installed.
Then install it using
brew install openfpgaloaderNow you can upload code using the commands above.
Windows Install
This can only be done on personal computers (not lab computers) because you need admin access to install and setup the software
Option 1 (recommended)
Follow this tutorial to install openFPGALoader: github.com/DFiantWorks/openFPGALoaderWSL
Once it is installed run the commands at the top of the document, but replace openFPGALoader with openFPGALoaderWSL.
Option 2
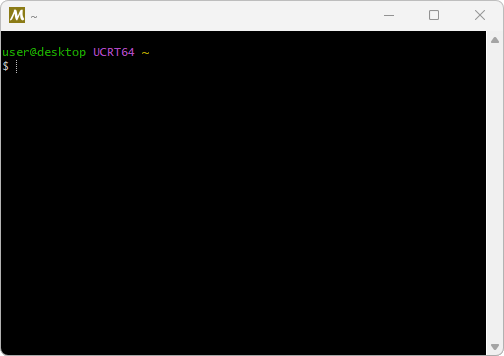
First, install MSYS2. It should open a window that looks like this. If you don’t see it, open the UCRT app that was installed.
Second, install openFPGALoader by running this command in the terminal window (you need to right click to paste, CTRL+V doesn’t work):
pacman -S mingw-w64-ucrt-x86_64-openFPGALoaderYou can verify that it installed correctly by running openFPGALoader -h.
Third, replace the default usb driver with one that work with openFPGALoader. Download and install Zadig. Then open it, select Options -> List All Devices, and select the UPduino in the dropdown menu. It should look like this before you press install driver.
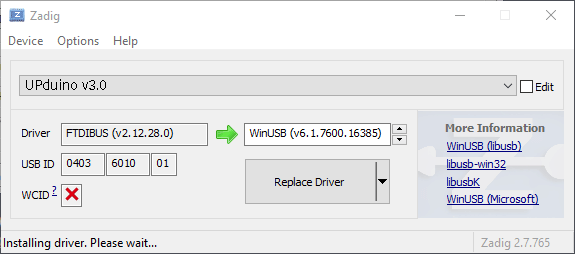
Then click replace driver and wait for it to finish (you won’t need Zadig again).
Now openFPGALoader is installed and you are ready to use it, however you need to go to the right folder in the terminal. Do this using the cd command, eg:
cd /c/Users/<username>/Desktop/E155/lab_1Then run the commands at the top of this document to program your FPGA.
Linux Install
See the openFPGALoader documentation here