How to Build a Quarto Portfolio
Introduction
By the end of this tutorial you will have created a Quarto website that will serve as your online portfolio for MicroPs this semester.
Installing Quarto
The first step to building your site is to download and install Quarto on your machine. Go to the Quarto website and download the most recent version of the Quarto CLI here.
You’ll also need to decide what tool you’ll like to use to write your Quarto code. There are lots of options here, but this tutorial will focus on Visual Studio Code. If you don’t have VS Code installed, install it by downloading the latest version here. Then follow the instructions here to set it up by installing the Quarto VS Code Extension. While you are there, read the full page to understand the basic workflow of using Quarto with VS Code.
Creating Your First Quarto Project
Once you’ve got Quarto installed, it’s time to get writing. Before we get too much further, let’s have a brief chat about the Quarto workflow.
The Quarto Workflow
The process of going from start to finish with Quarto is normally a four step process. Two of the steps are not strictly required, but strongly recommended. The are:
- Write
- Preview:
quarto preview - Render:
quarto render - Publish:
quarto publish
Creating Your Project
First you need to create a Quarto project. To do so, open up VS Code and then open up the integrated terminal (also fine to use a separate terminal of course if that’s your style).
Then, navigate to the location where you’d like to create your Quarto project. Normally you’ll need at least a bit of command line knowledge to navigate. If you’re not super familiar, Google is your friend.
Once you’re in the location that you want to your project to live in, create a new folder named hmc-e155-portfolio to house your project (Quarto will not create a folder for the files it creates). Then navigate into that folder and run the command quarto create. This will walk you through a series of prompts. Make the following selections.
? Create › project
? Type › website
? Directory › /
? Title (/) › E155 Portfolio
This will create a new project with a few files.
_quarto.yml: This is the Quarto configuration file. It contains project-wide configuration options.index.qmd: This is the home page for your project. Every website project must have an index.qmd file (or to be more specific, a file that renders toindex.html)about.qmd: An example About pagestyles.css: A template cascaded style sheet (CSS) file that can be used to apply custom web styling.
Hello Quarto
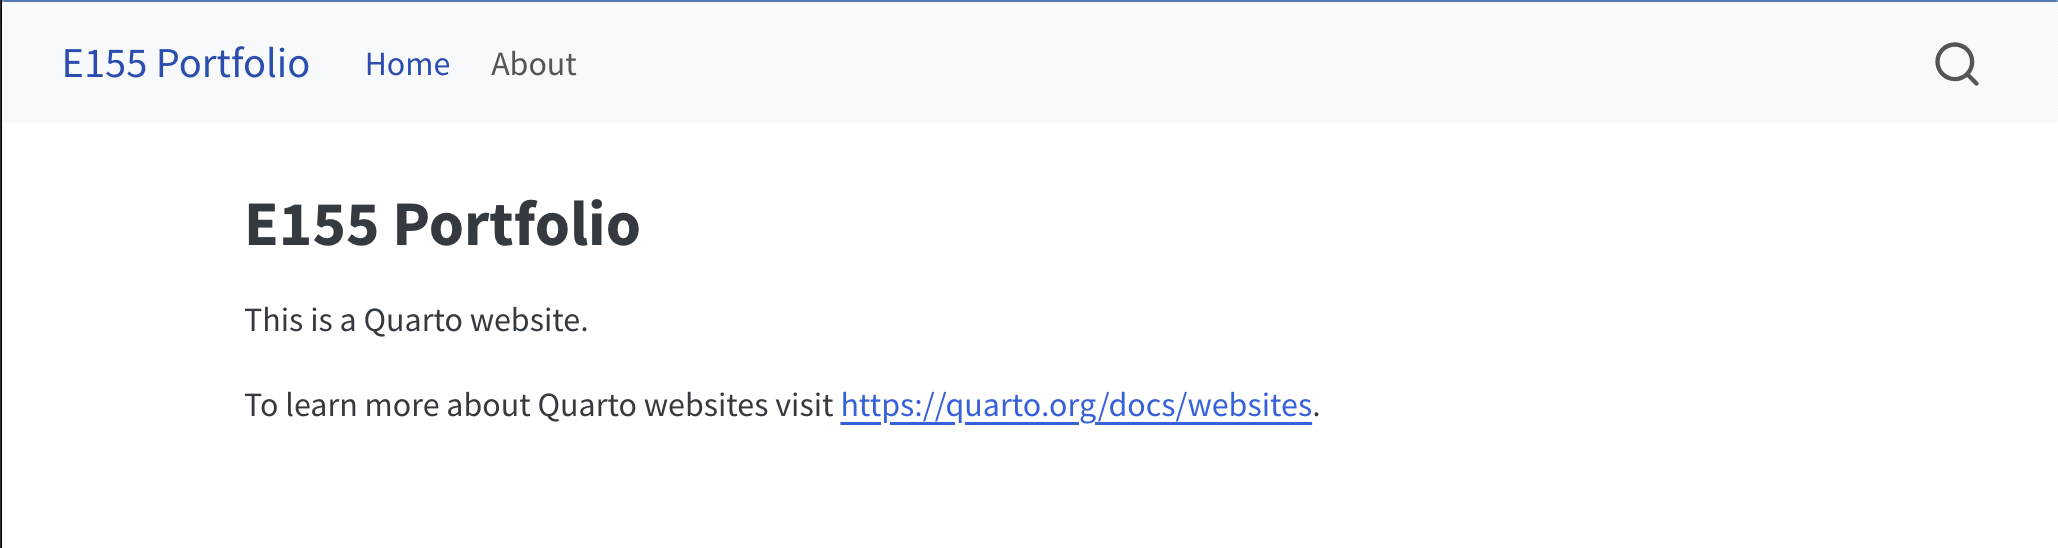
Now that you’ve got your site configured, you can preview it to see what it looks like. To do so, run the command quarto preview in the terminal. This will render the files in your project and open a new browser window displaying your site.
If you do this with the default files we’ve created so far you’ll see something that looks like this.
Making Your First Edit
Adding a Bio
Now we’ll make our first edit to the site. Open up your index.qmd page and add a short blurb about who you are. Put your text underneath the section at the top that starts and ends with three dashes (---). This section is called the frontmatter and we’ll talk about what it’s for and how to edit it in a minute.
After you write your text, save the file. Once you do this, you should notice your browser window pointed to the preview refresh and your changes appear. (If not, you may need to manually refresh the page.)
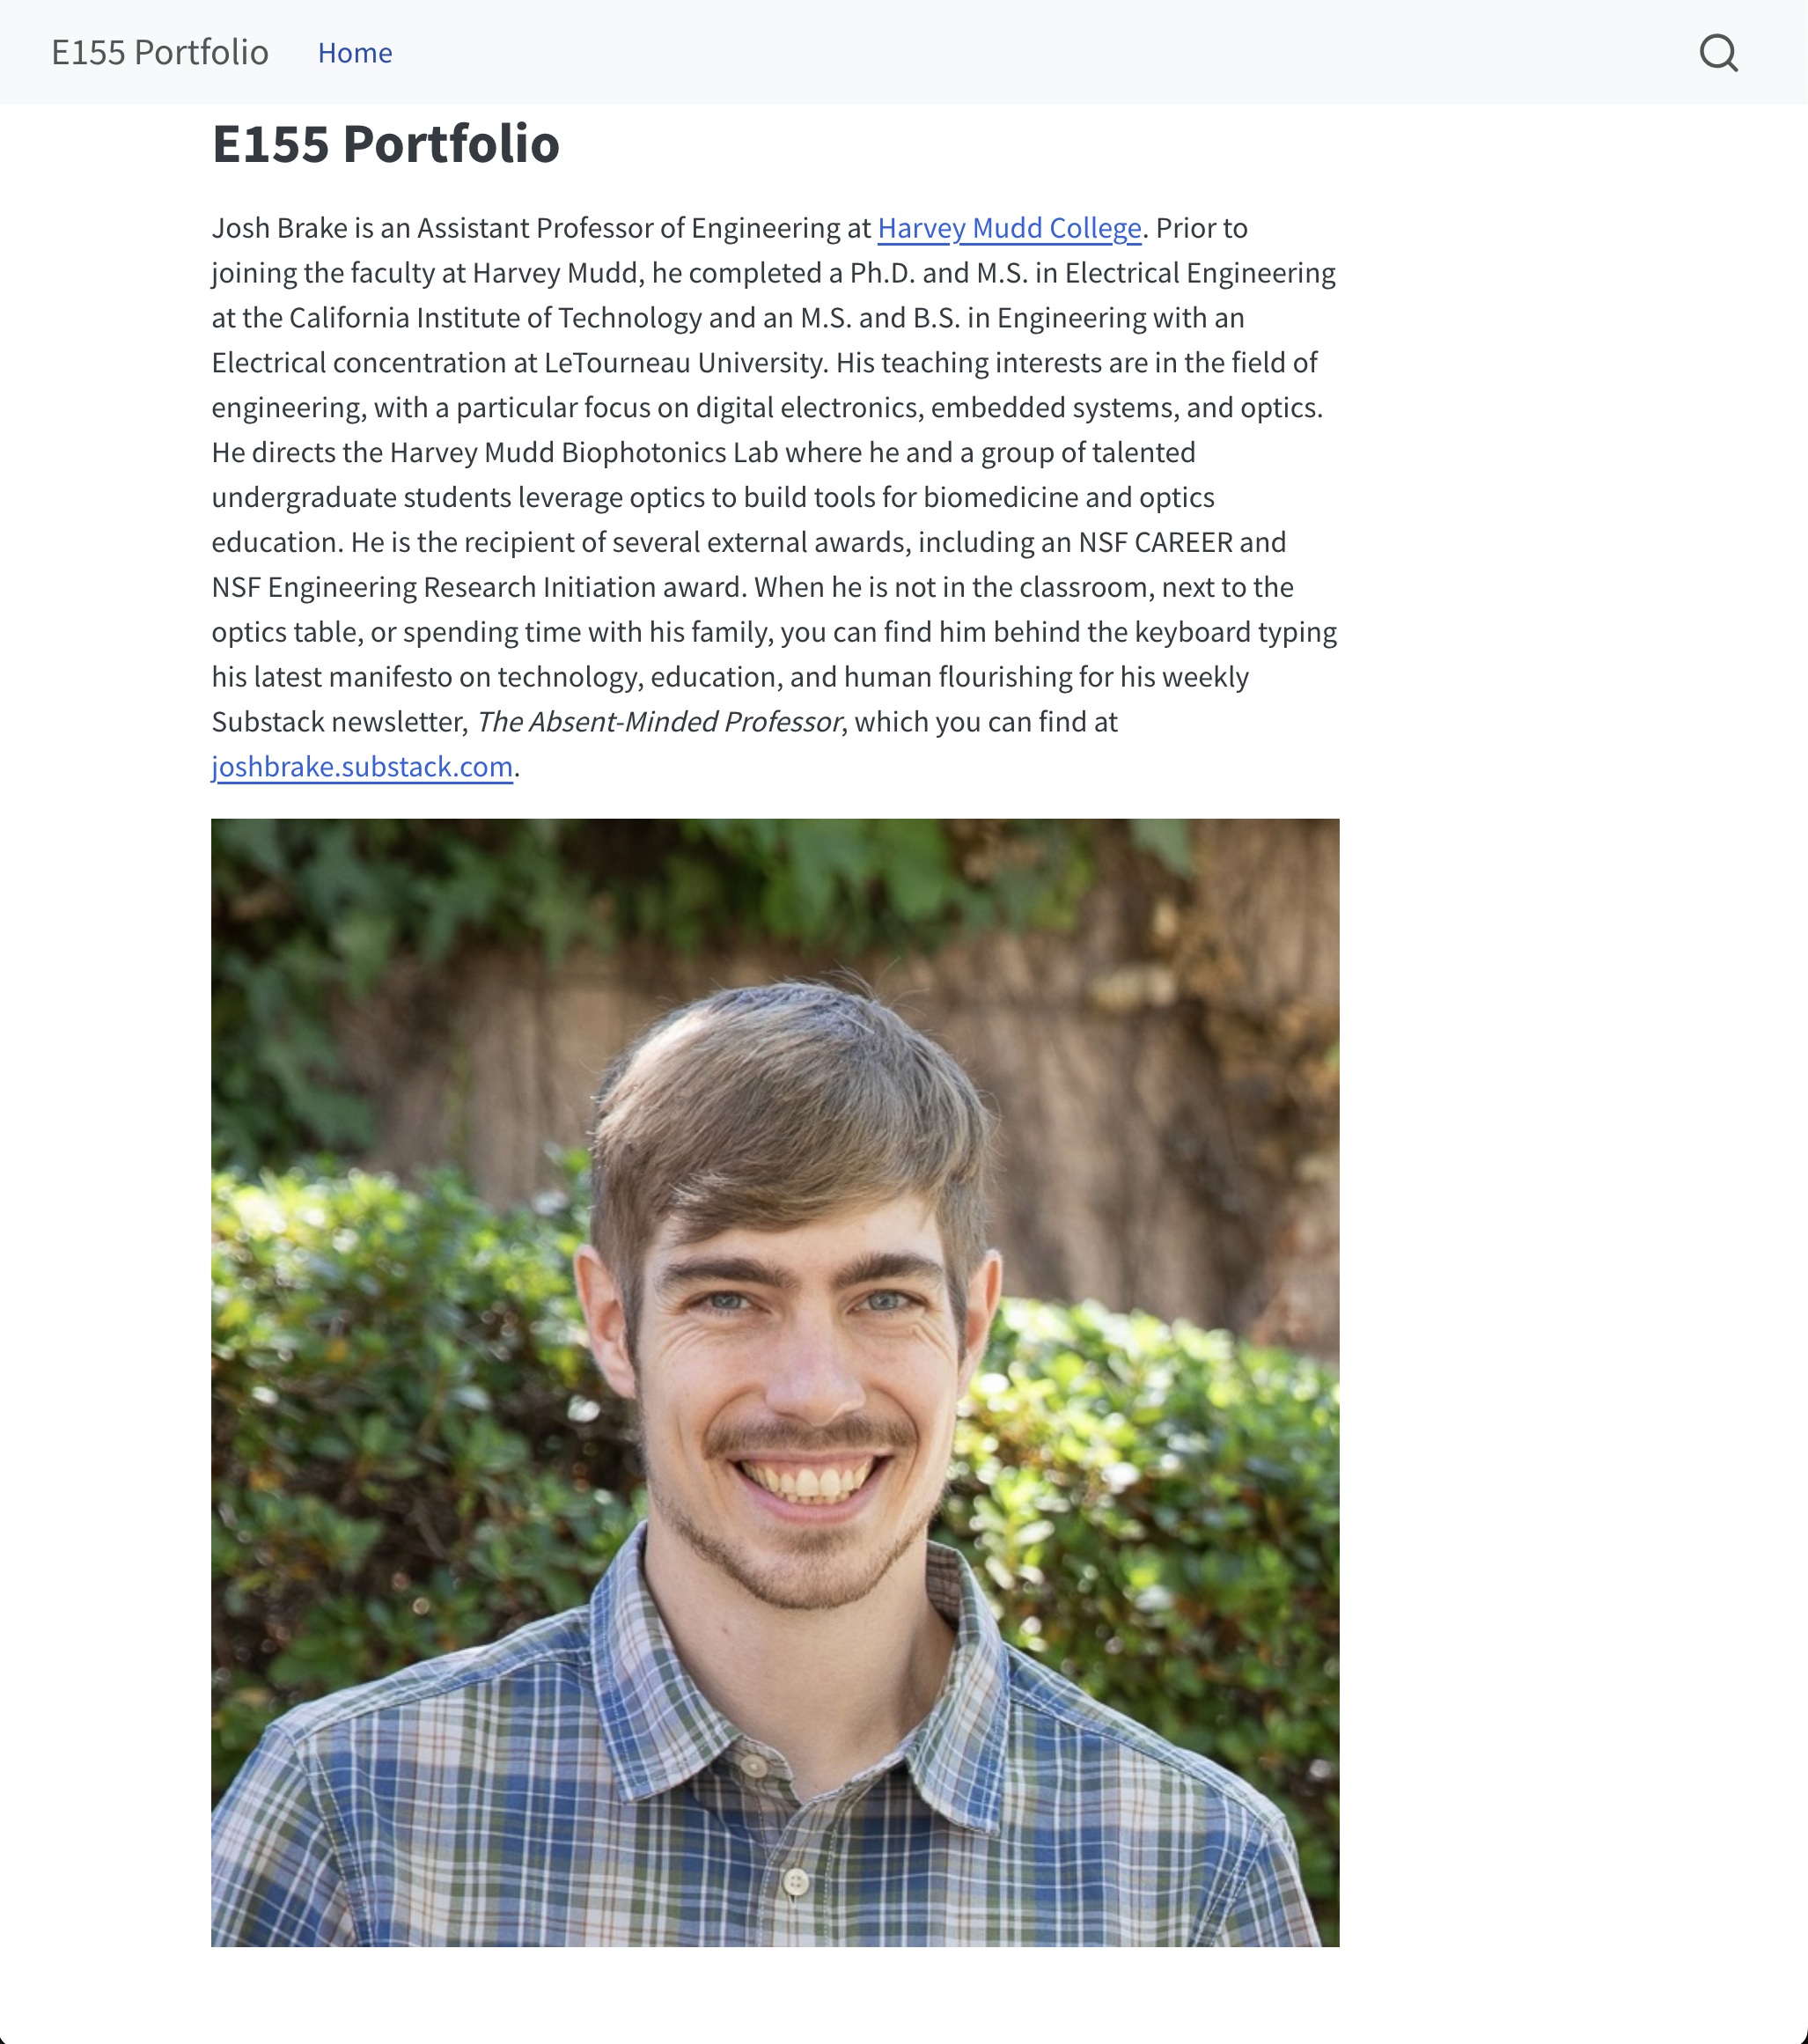
Here’s the code for mine.
Josh Brake is an Assistant Professor of Engineering at [Harvey Mudd College](https://hmc.edu).
Prior to joining the faculty at Harvey Mudd, he completed a Ph.D. and M.S. in Electrical Engineering at the California Institute of Technology and an M.S. and B.S. in Engineering with an Electrical concentration at LeTourneau University.
His teaching interests are in the field of engineering, with a particular focus on digital electronics, embedded systems, and optics.
He directs the Harvey Mudd Biophotonics Lab where he and a group of talented undergraduate students leverage optics to build tools for biomedicine and optics education. He is the recipient of several external awards, including an NSF CAREER and NSF Engineering Research Initiation award.
When he is not in the classroom, next to the optics table, or spending time with his family, you can find him behind the keyboard typing his latest manifesto on technology, education, and human flourishing for his weekly Substack newsletter, *The Absent-Minded Professor*, which you can find at [joshbrake.substack.com](https://joshbrake.substack.com).The file extension .qmd stands for Quarto Markdown. If you’re not already familiar with it, Markdown is a lightweight formatting language. Quarto supports Markdown formatting and is super handy for including information like hyperlinks. You can find more information about Markdown formatting here.
Adding Headshot and Links
Next, we’ll add a headshot and a link to your other professional presence on the web. To do this, we’ll first need to learn how to include images on our site.
First, create a subfolder in your project to hold all the images and name it images. Then put a headshot image of yourself in the folder and name it headshot.jpg. The exact filename and extension is not critical as long as you modify the code that follows to match your situation.
To include the image in your page, use the following code.
Save your file and check out the preview. You should see an image in the middle of your page. If not, double check that your paths are correct and that Quarto can find the image.
You can also add a link to your Github using Markdown syntax.
For example, you could write something like:
[Link to Github](https://github.com/joshbrake)Great, if we wanted to make this look all nice we could do some additional work with it to style it with CSS to get the image centered and scaled, but instead we’ll use a handy feature in Quarto called templates to make it look nice.
Making Your Home Page Pretty with Quarto Templates
To use a Quarto template, we’ll need to modify the front matter of the .qmd file. As mentioned earlier, this is the part of the document at the top of the document that starts and ends with a line with three dashes (---). In particular, we’ll modify it to take advantage of Quarto About Pages.
Right now, your front matter just has a single key-value pair to set the title. We’ll modify this to give Quarto some additional instructions for how we’d like the page formatted.
To do this, we’ll add a a few new entries to the front matter.
- A new key
imagewhere the value is a link to our headshot image - A new key
aboutwith two values which themselves are keys,templateandlinks. These keys will have values themselves where the values forlinksare a list of items.
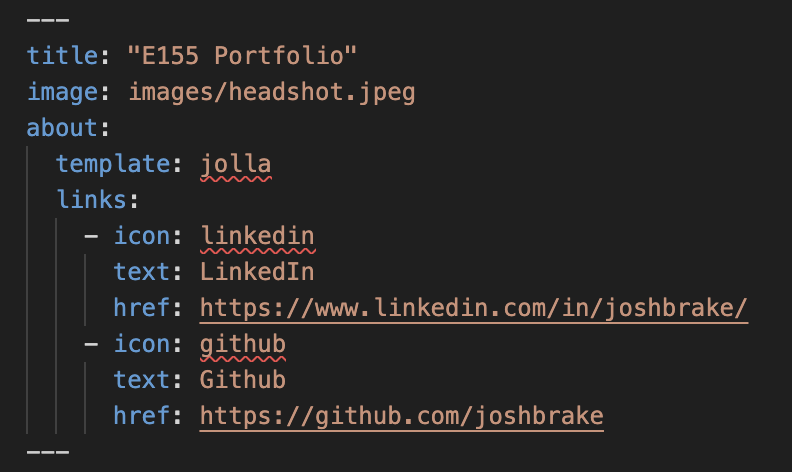
Modify your front matter to match the text in the image below, changing the link to the image and the hyperlinks to Github and LinkedIn to match yours.
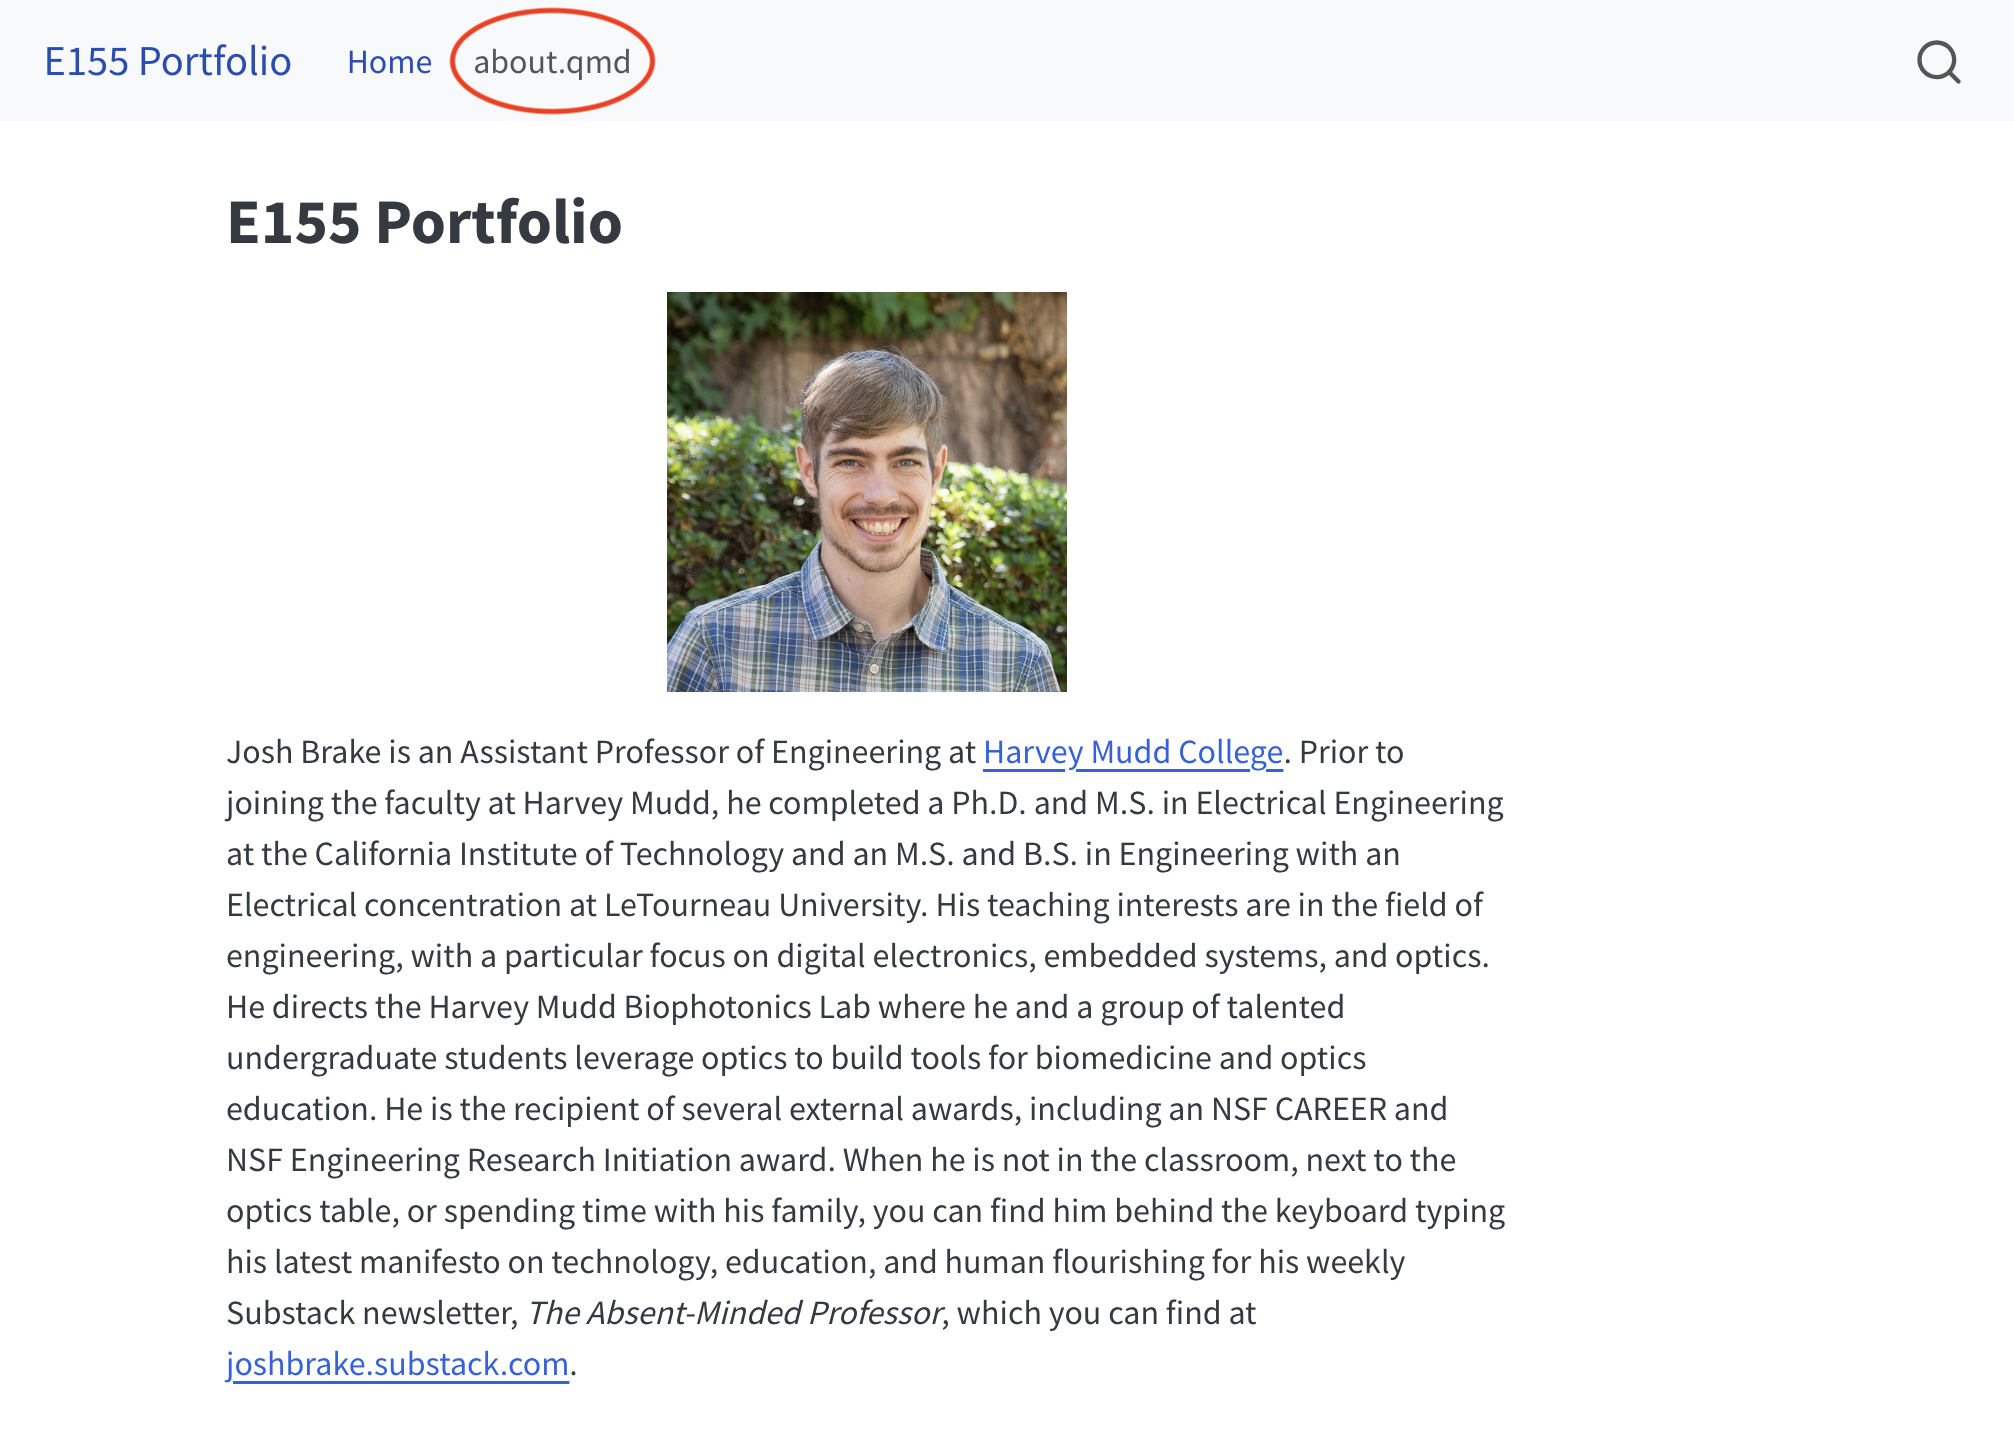
Once you complete this step, your new home page should look like the following.

Creating Your Blog
Setup
Quarto also supports blogging. You can read more in the docs here. You’ll create a blog this semester with short weekly posts to reflect on and share your work and reflect on your learning.
To set up your blog, create a new folder titled posts/ and a new file titled blog.qmd in the root directory of the Quarto project.
Modify the frontmatter at the top of your blog.qmd file to match the following. This will set up your blog to list the entries contained in posts in descending order from most recent.
---
title: "E155 Blog"
listing:
  contents: posts
  sort: "date desc"
  type: default
  categories: false
---
Next create your first post by creating a new file in the posts/ folder titled first-post.qmd.
Add the following frontmatter and add a sentence of placeholder text for now.
---
title: "Hello Quarto"
description: "Welcome to my Quarto portfolio"
author: "Josh Brake"
date: "8/23/24"
categories:
  - reflection
  - labreport
draft: false
---If you want to create draft posts you can use the draft key in the frontmatter of the files in your posts folder. This will allow you to see the files when you preview your side, but not when you publish it.
Your Turn
Now that you’ve got the ropes, it’s your turn to make some more modifications. Using the instructions below and the list of specifications found here or linked in the sidebar. The goal of this list is to give you a feel for how the specification grading scheme will work in E155 this fall.
Modifying Folder Structure
Modify your site to have the following folder structure and pages.
.
├── _quarto.yml
├── _site/
├── images/
│   └── headshot.jpeg
├── labs/
│   └── lab1/
|       ├── images/
│       └── lab1.qmd
│   └── lab2/
|       ├── ...
│   └── ...
├── posts/
├── blog.qmd
├── index.qmd
└── styles.css
Customizing Your Site
To get your site to look like the file structure above, you’ll need to delete the about.qmd page that got created by default when we created our project. Once you delete the file, reload your site with quarto preview and you’ll notice that there is now a broken link on your navbar.
To fix this, we’ll need to modify the navigation bar of the site.
To do that, go to your _quarto.yml file. This file is what’s known as a yaml file, a human-readable file format commonly used for configuration files. It’s used to configure project-wide settings for our project and is exhibits a dictionary data structure with key-value pairs.
In this file, delete the list entry for about.qmd which is listed underneath website -> navbar -> left.
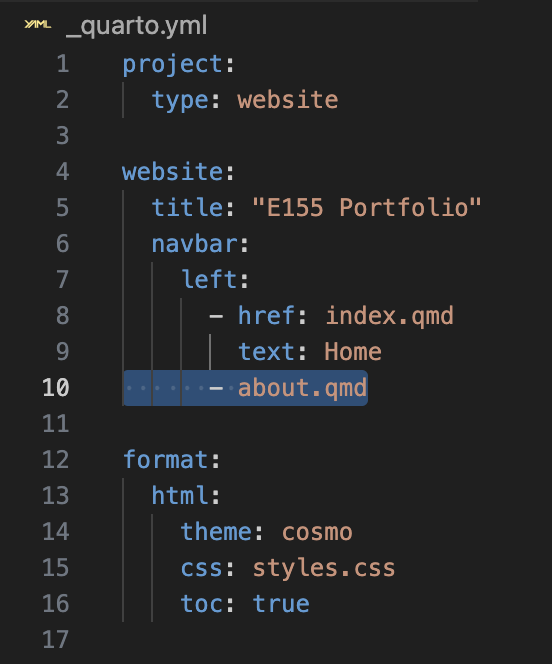
Once you delete this line, reload your website to see the changes to your navbar. You should see the entry disappear.
Tracking Your Work With Git
If you haven’t yet set up Git on your machine or are not familiar with it, complete the Git Tutorial before continuing. You’ll need to have Git set up before you move to the next step to publish your site.
Initialize Git Repo
Initialize a Git repository in the directory of your Quarto project and add a README.md.
Configure .gitignore
When you configure the repository for your site, make sure to ignore the Quarto rendered output. If you don’t it will make your diffs much more complicated.
The rendered materials lives in two folders in your Quarto project, /.quarto/ and /_site/. Create a .gitignore file in the root of your project directory and add these two lines. You may also want to add a few additional items that should not be included in your repository including system files like .DS_Store (Mac) and Thumbs.db. You should pay careful attention to the changed files in your changed files and add any necessary extensions to your .gitignore file before you commit anything.
Once you commit a file into a repo, it can be challenging to go back and remove it.
Commit and Push
Review the changed files and commit your changes. Then push to the remote.
Publishing
Once you finish editing your site locally, setting up git, and checking that everything looks good using the preview command, it’s time to publish.
There are a number of ways that you can publish your work with Quarto. The simplest way is to directly copy the contents _site directory where Quarto puts all the files for your website when you run quarto render to a web server.
But Quarto also offers a few additional built-in solutions using the quarto publish command that make it easy to get your work live on the web. You can read the documentation here for more information, but for this class we’ll recommend Github Pages.
Github pages allows you to publish content based on source code managed within a Github repository. Follow the instructions in the Quarto docs to configure your project to be published. Make sure that you follow all the steps in the instructions to properly configure your git repository to use gh-pages as the source branch.
Before you follow the instructions make sure you’ve got all your changes committed. If you don’t, when you run git reset --hard you’ll discard all your changes!
Here is a short Loom video to walk you through the process of publishing your Quarto portfolio as a Github Pages site.
Wrapup
Congratulations! You now have your portfolio website for E155 set up and published to the web.